


Creating a Ravan mukut drawing step by step is a fun and rewarding process, especially for kids learning about Ravana, one of the key figures from the Ramayana. This guide will walk you through how to create an easy and colorful Ravan mukut design with simple steps that even beginners can follow. Whether you’re using a pencil or colors, this tutorial will cover everything from simple outlines to adding details.
How to Draw Ravan Mukut Step by Step for Beginners ?
Step 1: Start with the Outline
Begin your Ravan mukut drawing for Beginners by sketching the basic shape of the crown. Use light strokes to form a semi-circle or curved shape that will serve as the top of the mukut. This step is important for keeping the proportions correct. You can start with a Ravan mukut drawing pencil to ensure you can make adjustments easily.
Also Read: How to Make Ravan with Cardboard Step by Step?
Step 2: Adding Details to the Crown
Next, add the intricate details to the mukut, such as patterns, jewels, and ornamentation. Make sure to balance the left and right sides of the crown to give it a symmetrical look. For a Ravan mukut drawing easy version, stick to simple shapes like circles and lines.
Step 3: Finalize the Shape and Add Texture
Once your outline is complete, begin adding texture to your mukut by drawing small patterns and designs. For a Ravan mukut drawing with colour, now is the time to add bright shades like gold, red, and blue to make the crown look royal and festive.
Also Read: How to Make Ravan with Bamboo ?
Step 4: Final Touches
Go over your drawing again, making sure all the lines are clean and crisp. For a Ravan mukut drawing simple version, use basic colors and shapes to keep it easy for kids or beginners.

Tips for Ravan Mukut Drawing for Kids
- Start simple: A Ravan mukut drawing for kids should focus on easy lines and shapes.
- Use pencil first: Always start with a pencil sketch to fix any mistakes.
- Add color: Using colors makes the drawing lively. A Ravan mukut drawing with colour can use golden and red hues for a traditional look.

Tools for Ravan Mukut Drawing
| Tools Needed | Description |
|---|---|
| Pencil and Eraser | Start with pencil sketch for easy adjustments |
| Color Pencils or Crayons | To fill in bright colors like gold, red, and blue |
| Drawing Paper | Use thick paper if planning to color the mukut |
| Ruler | Helps to maintain symmetry and straight lines for intricate designs |
How to Make Ravan Drawing Easy for Class 1
If you are creating a Ravan drawing easy for Class 1, keep the design of the mukut simple. Focus on large, bold shapes and avoid too much detailing. This will ensure that younger students can follow along without getting frustrated.
FAQs
A: Yes, a Ravan mukut drawing pencil version is great for practicing. You can always add color later.
A: Absolutely! A Ravan mukut drawing for kids can be done with basic shapes and bright colors to make it engaging.
A: For a Ravan mukut drawing easy version, start with a pencil, use basic shapes, and add simple patterns. You can color it later for more depth.
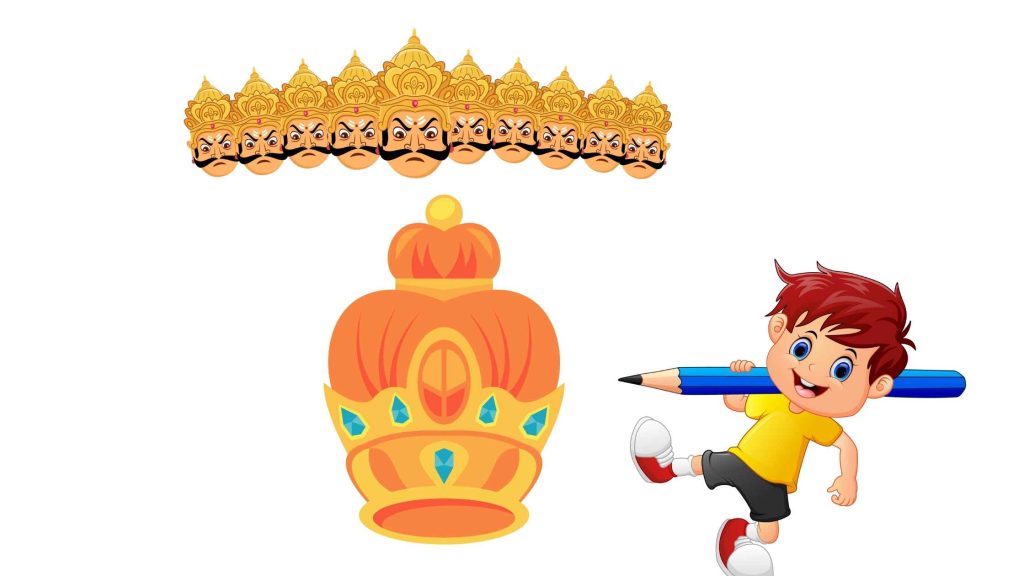
Ravan Mukut is the crown worn by Ravana, the demon king in the Ramayana. It is often depicted during Dussehra as a symbol of evil that Lord Rama defeated.
Beginners can start by drawing a simple outline of the crown, then add details like gems, patterns, and Ravana’s faces step by step. Using pencils first and coloring later is recommended.
You need a pencil, eraser, sharpener, coloring pencils or markers, and a drawing sheet. Optional: ruler and compass for symmetrical designs.
Yes. Break the drawing into smaller sections, start with basic shapes (triangles, circles), and gradually add intricate designs.
Depending on skill level, it can take 30 minutes to 1 hour for a simple drawing and longer for detailed, colored artwork.
Absolutely. Beginners can start with a simple one or three faces and gradually move to the traditional ten-headed design as skills improve.
Conclusion
By following this Ravan mukut drawing step by step guide, you’ll be able to create a detailed and beautiful mukut that captures the essence of Ravana. Whether you’re drawing with pencil or adding color, the process is simple and fun. You can even use this activity in school projects or for festivals like Dussehra. Don’t forget to send your durgapuja wishes to friends and family to celebrate the festive season!